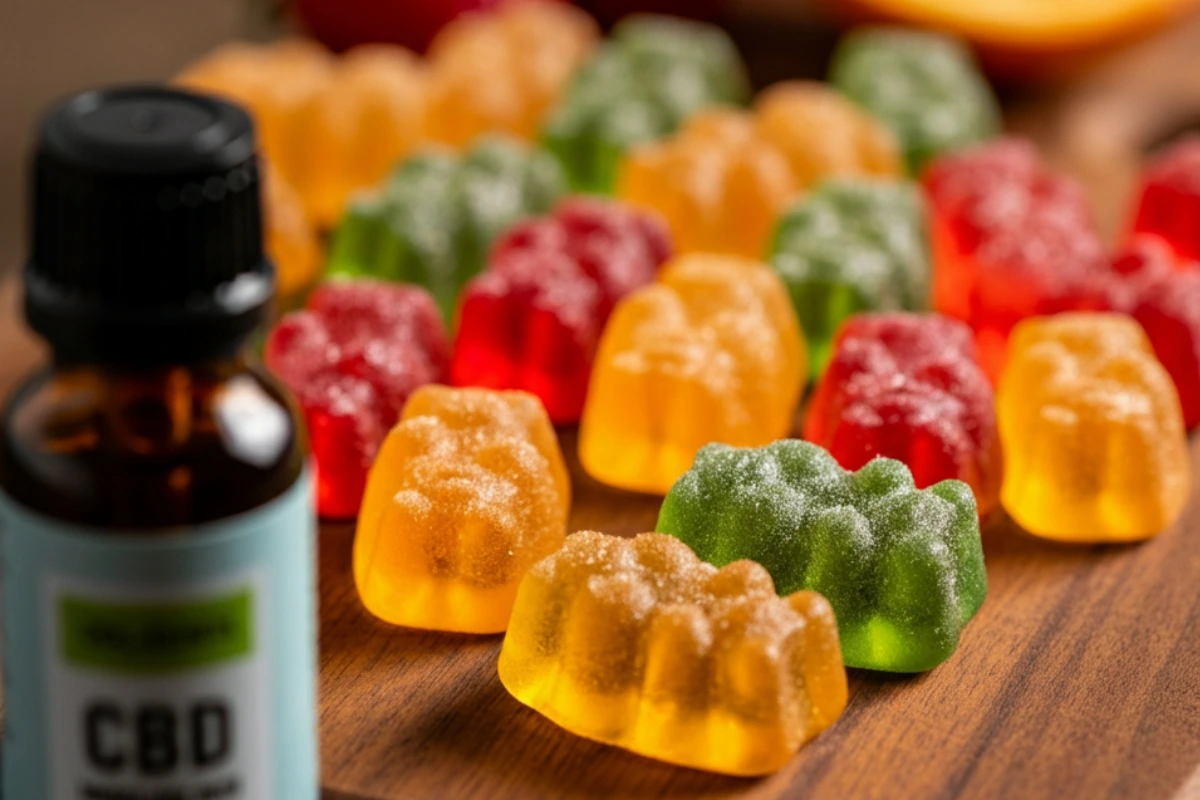
Today’s focus? These homemade CBD gummies that double as sweet treats and your new go-to self-care sidekick. These aren’t just some chewy snacks to keep on hand. Oh no. They’re cute, colorful, and packed with the best “kick back and relax” vibes this side of the snack aisle. Had a week that felt like it was all Mondays? These gummies are about to be your edible reminder to breathe easy and slow down.
Now, CBD itself has been having a major moment—from tinctures to skincare to infused lattes that cost more than brunch. But the beauty of CBD gummies? They’re as versatile as they are delicious. Think relaxation, stress relief, better sleep, or even soothing those minor aches that show up uninvited. Add to that the benefit of making them at home (where you’re the boss of everything from flavor to CBD dosage), and you’ve got yourself the ultimate homemade wellness flex.
No shady ingredients, no overpriced snack bags, no guessing what’s in your bite—just clean, customizable treats tailored to your vibe in these homemade CBD gummies. And don’t worry about the process being extra complicated. Making CBD gummies is easier than making a boxed cake—and way more rewarding. With this recipe and your kitchen swag, you’ll leave the store-bought kind in your gummy dust.
Stress Be Gone! Why These Homemade CBD Gummies Are the Real MVPs
We all have those moments when life feels like a full-body workout—mentally, emotionally, and physically. That’s where CBD gummies come in clutch. These chewy little gems are like snacks and therapy wrapped in one tidy package. CBD’s known for bringing the calm, easing tension, and helping with better sleep. Whether you’re juggling emails, carpool duties, or just crawling out from a week filled with deadlines, these gummies are the bite-sized reset button you didn’t know you needed.
But wait—there’s more! These CBD gummies aren’t just about relaxation. Got some post-workout soreness? Pop a gummy. Need some TLC after surviving Auntie Shirley’s “when are you getting married?” interrogation at the family reunion? You already know what to do. And because they’re made at home, you’re in total control of the process. Control is the key, friend.
Flavor Meets Control—Make the Homemade CBD Gummies Your Way
Forget one-size-fits-all when it comes to snacking. This ain’t that. When you make CBD gummies at home, you can play mix-and-match with flavors, sweetness levels, and even the chewiness factor (get fancy with it!). Prefer tropical vibes with mango and pineapple? Done. Want a blend that reminds you of childhood fruit snacks? Easy peasy.
And flavor options are just the beginning. How about being able to control exactly how much CBD goes into each gummy? If you’re over here thinking, “What if I don’t want a high dose? What if I need a little chill instead of a full-on nap?” then this is your moment. Customizing dosage is what makes homemade CBD gummies superior in every way. It’s like being the Beyoncé of your snack game—total creative and quality control.
Dose Right, Chill Tight—How to Nail the Perfect CBD Gummies Dosage
Now, I know the word “dosage” might sound intimidating, but trust me, it’s simpler than calculating a tip at brunch. Whether you’re new to CBD gummies or you’re already on a first-name basis with your CBD supplier, knowing your dose is where the magic happens.
Here’s the formula, friend:
- Start by figuring out how much CBD is in your product (it’ll be listed in mg on the bottle).
- Decide how much CBD you want in each gummy. New to this? Start low—around 10mg per gummy—to test how you feel.
- Divide the total CBD milligrams by the number of gummies you want to make. Voila! Dosage math, made easy.
For example, if you have 500mg of CBD and you plan to make 25 gummies, each gummy will have 20mg of CBD. Want them lighter? Use more molds and spread it out. The beauty of making your own gummies is that you can adjust each batch, so it’s just right for your needs. And remember—the goal is to relax, not go full-on mad scientist.
Hold Up, Friend! Here’s What You Need to Know About Keeping It Safe
I’ve gotta pause here for a quick PSA (with love, of course). While these CBD gummies are all about good vibes, safety first is the rule here. Friend, I’m not your doctor, pharmacist, or wellness guru—just your snack-making cheerleader. If you’re pregnant, nursing, or taking any medications, consult your healthcare provider before trying CBD.
And one more thing, because it’s important—keep these gummies away from kids and pets. Yes, they’re cute and chewy, but these little treats are for you, not your toddler or fur baby. You can keep the party lighthearted and responsible—both can exist, promise.
Homemade Flex! Why Your Kitchen Beats the Store Shelf Every Time
Listen, store-bought CBD gummies might come in shiny packs, but they’re filled with sugars, weird preservatives, and price tags that make your wallet cry. Why pay more for less when you can make a whole batch in your kitchen for way less cash?
Homemade CBD gummies are the epitome of luxury because you’re picking only the best stuff. No filler, no junk, and no mystery ingredients you need to Google. You’re basically creating the cutest, healthiest treats that not only look good on your countertop but also do your body good.
Oh, and did I mention you can get creative with extras like edible glitter rolls, cute molds, or natural food coloring? Your gummies can literally look as good as they taste. Store-bought wishes it could compete.
Get in the Gummy Groove—Making Snacks That Do More Than Satisfy
Making these CBD gummies is an experience in itself. Think of it as your DIY wellness moment—a mini art project with rewards that surpass your average snack. There’s something satisfying about measuring, mixing, and creating a recipe that fits your vibe perfectly. Plus, it’s a whole lot easier (and cleaner) than you think!
Your kitchen will smell delicious, your gummies will turn out cute, and your mood will thank you for the calm they bring. Cue the playlist, slide on those fuzzy socks, and channel your creative spirit. It’s time to unwind, recharge, and treat yourself to snacks that definitely do more than satisfy your sweet tooth. You’ve got this!
Homemade CBD Gummies
Equipment
- Silicone gummy bear mold (or any fun shape you like!)
- Medium saucepan
- Whisk
- Dropper or squeeze bottle (for accurate gummy filling)
- Medium mixing bowl
- Measuring cups and spoons
Ingredients
- ½ cup water divided
- 1 packet unflavored gelatin or 2 ½ teaspoon
- ¼ cup honey or agave syrup adjust to sweetness preference
- ½ cup fruit juice any flavor (just make sure it’s 100% juice for bold flavor)
- ½ teaspoon natural food coloring optional, for extra pop of color
- Desired amount of CBD oil or isolate adjust dosage based on your needs; see notes for guidance
Instructions
- Prep the molds: Grab your silicone gummy mold and place it on a flat surface, like a baking sheet, for easy transport. It’s about to get a little sticky in here.
- Bloom the gelatin: Pour ¼ cup of cold water into a medium mixing bowl. Slowly sprinkle the gelatin over the water, whisking to avoid lumps. Set it aside for 2–3 minutes, or until your mix looks like a thick gel.
- Heat it up: While your gelatin blooms, heat your fruit juice, remaining ¼ cup of water, and honey or agave syrup in a medium saucepan over low heat. Whisk constantly until the mixture is warm and the sweetener dissolves (but don’t boil it, friend—that’s not the move).
- Combine and whisk: Add the gelatin mixture to your warm juice blend and whisk until it’s smooth as silk. Remove the pan from the heat. If you’re feeling fancy, this is where you add a few drops of natural food coloring for that extra wow factor.
- Infuse the CBD: If you’re using CBD oil, gently whisk it into the warm mixture. For maximum accuracy, double-check the dosage based on your bottle’s label and your needs (we’re aiming for relaxation, not wild miscalculations). If you’re using isolate, dissolve it thoroughly.
- Fill your molds with precision: Use your dropper or squeeze bottle to carefully fill each gummy mold. Take your time—there’s no rush to greatness.
- Chill time: Pop the molds into the fridge and let them set for at least 1 hour (or up to 2 if you’re impatient like me and keep peeking).
- Pop and enjoy: Gently remove the gummies from their molds. Store them in an airtight container in the fridge for up to two weeks, but honestly, I doubt they’ll last that long once word gets out.
Notes
- Dosage Matters: Start small, especially if you’re new to CBD. First, figure out how many milligrams (mg) of CBD you want per gummy. Then match the total mg of CBD in your oil or isolate with the number of gummies you’re making. For example, if 500mg is in one bottle and you fill 20 gummy molds, each gummy will have 25mg CBD. (Math, but make it tasty.)
- The Disclaimer You Need: Listen, friend—I’m not your doctor, pharmacist, or life coach. This recipe is for informational purposes only. Always consult a healthcare professional before introducing CBD into your routine, especially if you’re pregnant, nursing, or taking meds. And please keep these out of reach of kids and pets—because what relaxes adults does not work the same for your toddler or fur baby.
- Custom Vibes: Want less sugar? Swap honey with a sugar-free sweetener. Prefer bubbles? Try using sparkling juice for extra pizzazz (but stir gently!).
- Pro Tip: If you want to store these longer, coat them lightly in cornstarch before sealing in the container. It’ll keep them from sticking together and give them a store-bought feel.