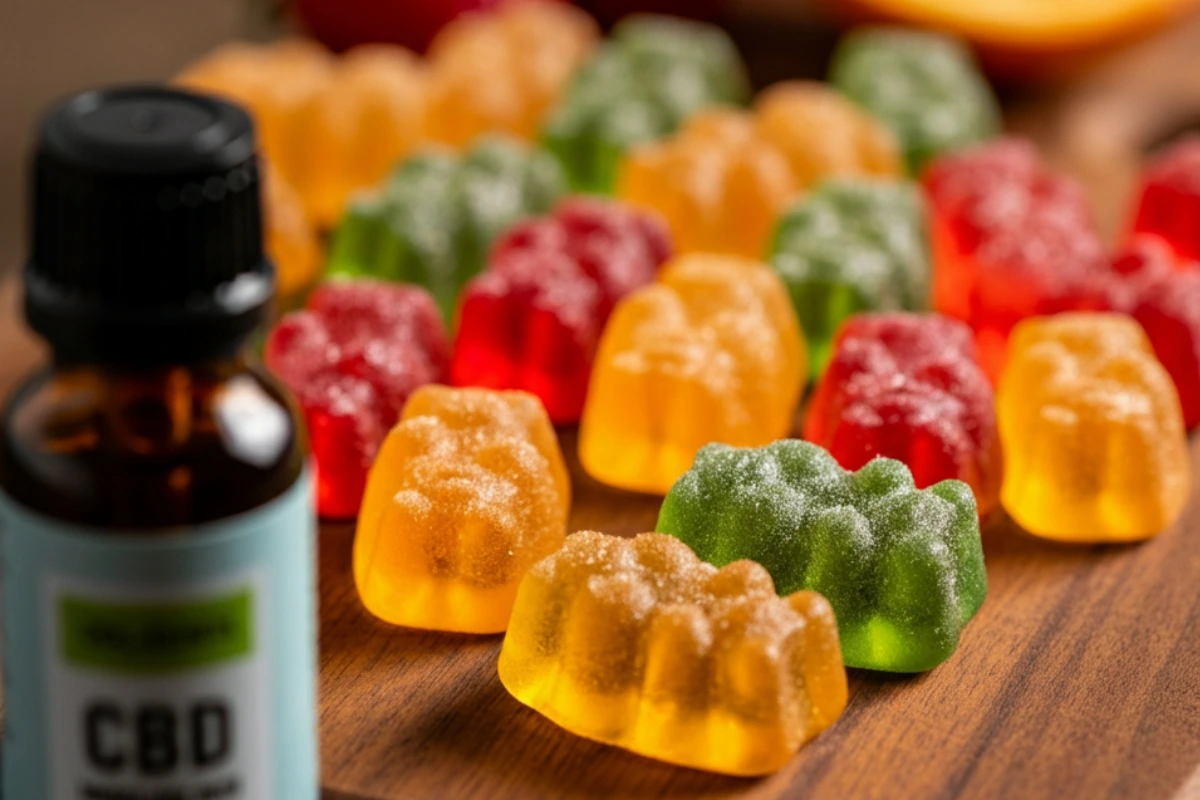
Picture this: it’s Saturday night, and you’re vibing at home. Maybe there’s a little jazz playing in the background, or maybe it’s some old-school R&B that makes you want to dance just because. You head to the kitchen, open the fridge, and bam! There they are. A glorious little batch of homemade infused gummy bears, gleaming like tiny edible jewels, just waiting to bring a little sweetness (and calm) to your evening. That’s the power of infused recipes done right, my friend. They make the everyday feel like an occasion.
Now, if you’re thinking, “Wait, infused recipes, like edibles? Isn’t that, uh, complicated?” Rest easy. I’m here to tell you it’s not. These infused gummy bears are as approachable as they are delicious. If you’ve got a whisk, a saucepan, and a little patience (okay, and some gummy molds for fun), you’ve got what it takes to create something that’ll make you do a little happy dance in the kitchen. And isn’t that what life’s all about? Little moments of joy, one bite at a time.
Oh, and did I mention these gummies are low-carb? That means you get all the chew, fruitiness, and chill vibes without derailing your health goals. Yes, friend, you really can have it all.
First Things First, A Little PSA (From Your Favorite Kitchen Hype Squad)
Alright, gummy bear enthusiasts, before we jump into this juicy adventure, I’ve got to sprinkle in a tiny dose of kitchen wisdom. When I say “infused,” I’m giving you the keys to your own flavorful kingdom. These gummy bears are versatile little gems! Whether you’re adding ashwaghanda, adaptogens, or yes, something with a little extra sparkle for the grown folks, the choice is yours. But listen, we’re here for fun and responsibility, okay?
Whatever you’re planning to sprinkle, drip, or mix into your gummies, make sure you know the deal. Ask yourself, “Am I clear on what I’m working with? Do I know how much to use?” If the answer is anything less than “ABSOLUTELY,” hit pause. Do a quick research session, consult an expert, or even phone someone wise in the ways of these ingredients. (Do not—I repeat, do NOT—play gummy roulette with your vibes, people.) The goal is pure joy, not a surprise plot twist that ends with pacing the living room at midnight.
Now that we’ve got our little chat out of the way, it’s time to roll up our sleeves and whip up the most fun, chewy, and perfectly balanced gummy bears of your dreams. You ready? Of course you are! 🍬
Why These Infused Recipes Belong in Your Life
Alright, let’s break this down because there’s a reason infused recipes are having their moment. They’re versatile, they’re modern, and they come with this effortless cool factor that makes you feel like a kitchen magician. But what sets these infused gummy bears apart isn’t just that they’re hip and on-trend. Oh no. It’s that they’re designed for YOU.
What’s special about this recipe? First off, it’s incredibly forgiving. If making edibles has always seemed intimidating, consider this your gateway recipe. You don’t need to be a generational pastry chef or own a complicated set of gadgets. This is about keeping it simple while delivering gourmet-level results. The flavor? Outstanding. The texture? Chewy perfection. The vibes they bring to your evening? Absolutely unmatched.
And can we talk about how these homemade goodies remind you of something important? You don’t have to settle for store-bought. You have the power to create something that’s just as delicious (if not more so), with ingredients you actually trust. Now that’s a flex.
But the real reason this recipe shines brighter than a fresh coat of gloss? It’s customizable, friend. These infused recipes are all about making treats tailored exactly to your taste and preferences. Love citrus but can’t deal with artificial lemon flavor? We’ve got you. Prefer a milder infusion that gives a gentle nudge instead of a body slam? You get to control the dosage. Every little decision is in your hands, and that’s what makes these gummy bears not just a dessert but an experience.
Making Infused Recipes Your Own
You know how they say a good little black dress is all in the accessories? That’s the kind of energy we’re bringing to these infused gummy bears. The base recipe is rock solid, but the magic really happens when you start customizing it to fit your life. That’s the beauty of infused recipes like this one. You can switch up the flavors, adjust the colors, or even tweak the strength of the infusion depending on what kind of vibe you’re going for.
Feeling extra fancy? Swap the standard fruit flavoring for something more exotic. Think yuzu, passion fruit, or even blood orange. Want gummies that double as a burst of brightness in your day? Add in some natural food coloring for a rainbow vibe, because who doesn’t need a little color therapy on a Thursday afternoon?
Oh, and if you’re someone who’s not quite sure about sweet flavors all the time (hey, we exist), try adding a tangy or sour twist to your gummies. A light dusting of citric acid mixed with erythritol after they’ve set will give you a flavor that smacks, sparkles, and delights all at once.
For those who like to keep things mild, you can adjust the infusion to your preferences. These infused recipes can cater to all levels of chill, from light and breezy to deep and mellow. It’s your world here. I’m just handing you the map.
Questions You Didn’t Know You Needed Answered
Now, I know what you’re thinking because I’ve been there too. Making edibles or infused recipes for the first time can feel like entering a secret culinary society where everyone else knows what they’re doing but you. But friend, we’re standing in this kitchen together, and I’ve got you covered with all the answers to the questions you didn’t even know you had.
Q: “Do I really need those cute little gummy molds?”
A: Need? No. Want? Absolutely. Sure, you could pour the mixture into a dish and cut it into cubes, but half the fun is popping out those adorable little gummy shapes. Bonus points if you go for themed molds for extra joy.
Q: “What if I mess up the infusion?”
A: You won’t. Seriously. But even if you do, there’s no “mess” in the kitchen, just happy accidents. If the dosage isn’t quite right, adjust the next batch. Cooking is a skill, not a competition. Pat yourself on the back for even trying.
Q: “Can these infused recipes really taste as good as store-bought?”
A: Friend, better. Because those store-bought ones don’t come with your hand-selected ingredients, your exact flavor preferences, or that extra sprinkle of love you put into making them.
Pro Tips for Gummy Greatness
Now, I wouldn’t leave you hanging without a few tricks of the trade. These are the gems that take your infused recipes from “pretty good” to “wait, YOU made these?!”
- Heat Matters: When you’re warming your syrup and sweetener base, keep it low and slow. Rushing this step is where gummies can turn grainy. Patience is the secret ingredient.
- Silky Smooth Texture: Bloom that gelatin properly. Sprinkle it over water and wait a few minutes before whisking it in. This ensures your finished gummies are smooth, not bumpy.
- Even Infusion: Mix the infusion thoroughly, friend. If you’re working with oil-based extracts, really whisk it in to ensure every gummy does its part in delivering those chill vibes.
- Pop-Out Perfection: If you’re fighting to get those gummies out of the molds, pop them in the freezer for a quick 5-minute chill. They’ll slide out easier than an R&B hit from the ‘90s.
Perfect Occasions for Infused Recipes
Not that you need an occasion to treat yourself, but these gummy bears are perfect for turning an ordinary moment into something extraordinary. Here’s where they really shine:
- Netflix and Chill (Literally): A movie night with these infused gummy bears is next-level cozy. Pair with a warm blanket and a good snack, and you’re golden.
- Brunch with a Twist: Add these to the table at a casual Sunday get-together. They’re a fun and unique addition that’ll have everyone buzzing (pun intended).
- Self-Care Nights: Light a candle, run a bath, and enjoy a gummy or two. This is about pampering yourself, friend. You’ve earned it.
- Gift Giving: Pack these gummies in a little tin or jar, and they make the ultimate DIY gift. Because nothing says “I appreciate you” like a homemade treat that’s also an experience.
Your Moment of Zen (and Sugar-Free Fun)
Friend, there’s something supremely satisfying about infusing your own sweet treats. It’s part craft, part science, and all heart. These infused gummy bears are more than just a snack; they’re a reminder that you’ve got the power to create something remarkable. Something that reflects your taste, your style, your life.
Now’s your chance. Whisk some joy into your kitchen, create a batch of chewy goodness, and watch how these infused recipes become the star of every occasion—from solo nights in to full-on celebrations. You’ve got the tools, you’ve got the confidence, and I know you’ve got the flavor. Go ahead, transform your kitchen into an edible wonderland. You’re about to make something unforgettable.
Infused Gummy Bears (Low-Carb)
Equipment
- Silicone gummy molds (any fun shapes encouraged!)
- Medium saucepan
- Measuring cups and spoons
- Whisk
- Dropper or squeeze bottle (precision is key!)
Ingredients
- ½ cup sugar-free syrup like Lakanto or ChocZero
- 3 tablespoons powdered allulose or preferred keto-friendly powdered sweetener
- ¼ cup water
- 1½ teaspoons unflavored gelatin powder
- ½ teaspoon citric acid
- ½ teaspoon natural food coloring optional, for those vibrant vibes!
- ½ teaspoon flavoring extract your fave choice, like lemon, orange, or berry!
- 1 mL Infusion extract adjust based on desired strength per gummy (you know what I mean, right?)
Instructions
- Prep Your Molds: Lightly spray your silicone molds with a tiny bit of neutral oil if they tend to stick. Place them on a flat baking sheet for easy handling later (because you’re smart like that).
- Make the Base: Combine sugar-free syrup, powdered allulose, and water in a medium saucepan over medium heat. Stir gently until the sweetener dissolves and the mixture starts to look like liquid glass.
- Thicken the Mix: Sprinkle the unflavored gelatin into the saucepan while whisking to avoid lumps. Continue stirring for about 2-3 minutes until the mixture thickens into a silky, smooth texture.
- Add the Flavors and Colors: Remove the saucepan from the heat and stir in citric acid, natural food coloring (if using), and your chosen flavor extract. This is where the gummy magic gets personal!
- Infuse it Up: Carefully add your "infused" extract, adjusting to your preferred dose (start small if you’re new, friend). Stir until the extract is evenly incorporated, ensuring calm vibes in every gummy.
- Pour into Molds: Use a dropper or squeeze bottle to fill your molds with the gummy mixture. Work quickly here, as the mixture will begin to set. Don’t overthink it, you’ve got this!
- Chill & Set: Place the filled molds in the fridge to set for at least 30 minutes, or until the gummies are firm to the touch. Patience is your best ingredient here!
- Pop & Store: Gently pop the gummies out of the molds and store them in an airtight container in the fridge for up to two weeks. Though, let's be honest, they’ll be gone way sooner!
Notes
- Pro Tip: If you want a sour twist, dust the gummies with a mix of citric acid and powdered erythritol after popping them out of the molds.
- Choose bold flavor combinations like raspberry and lemon for tangy vibes, or orange and vanilla for creamsicle nostalgia.
- If the mixture sets too quickly while you’re pouring, gently reheat over low heat to loosen it up.
The term “infused” in this blog post is intentionally broad and can refer to a wide range of ingredients, such as herbs, adaptogens like ashwagandha, or other natural additives. While these recipes are designed with versatility and creativity in mind, it’s essential to approach them with care and responsibility.
Before adding any infused ingredients to your recipes, please ensure you are familiar with their effects, dosages, and compatibility with your personal lifestyle. If you’re unsure or have specific health concerns, it’s always best to consult a healthcare professional, nutritionist, or other trusted expert.
This blog is meant to inspire and does not serve as medical or nutritional advice. Always prioritize your safety and tailor each recipe to suit your unique needs. Creating in the kitchen is fun, but being informed is key!
Disclaimer: The nutritional information provided with this recipe is an estimate and may vary depending on the specific ingredients, brands, or preparation methods you use. Cooking times and results may also vary based on your equipment, conditions, and individual cooking skills. Please use your own judgment and adjust as needed during preparation.
Be mindful of food allergies and sensitivities when preparing this recipe. Always double-check ingredient labels to ensure they are suitable for your specific dietary needs or those of anyone you may be serving. Neither the recipe creator nor this blog assumes responsibility for adverse reactions caused by following the recipe.
These recipes are shared for informational purposes only and should not be considered dietary, nutritional, or medical advice. For personalized advice, always consult with a qualified professional. Happy cooking!